Testing in Python
Writing Unit Tests with pytest
In the previous unit, we learned to debug and handle errors. Now let's write tests that verify our code works correctly before problems arise.
Why Test?
Testing helps you catch bugs early and ensures your code still works after changes. When you write tests, you verify that specific inputs produce expected outputs. This makes maintenance and refactoring much safer.
Unit testing focuses on testing individual functions in isolation. If a function works correctly on its own, you can be more confident it will work correctly as part of the larger program.
Getting Started with pytest
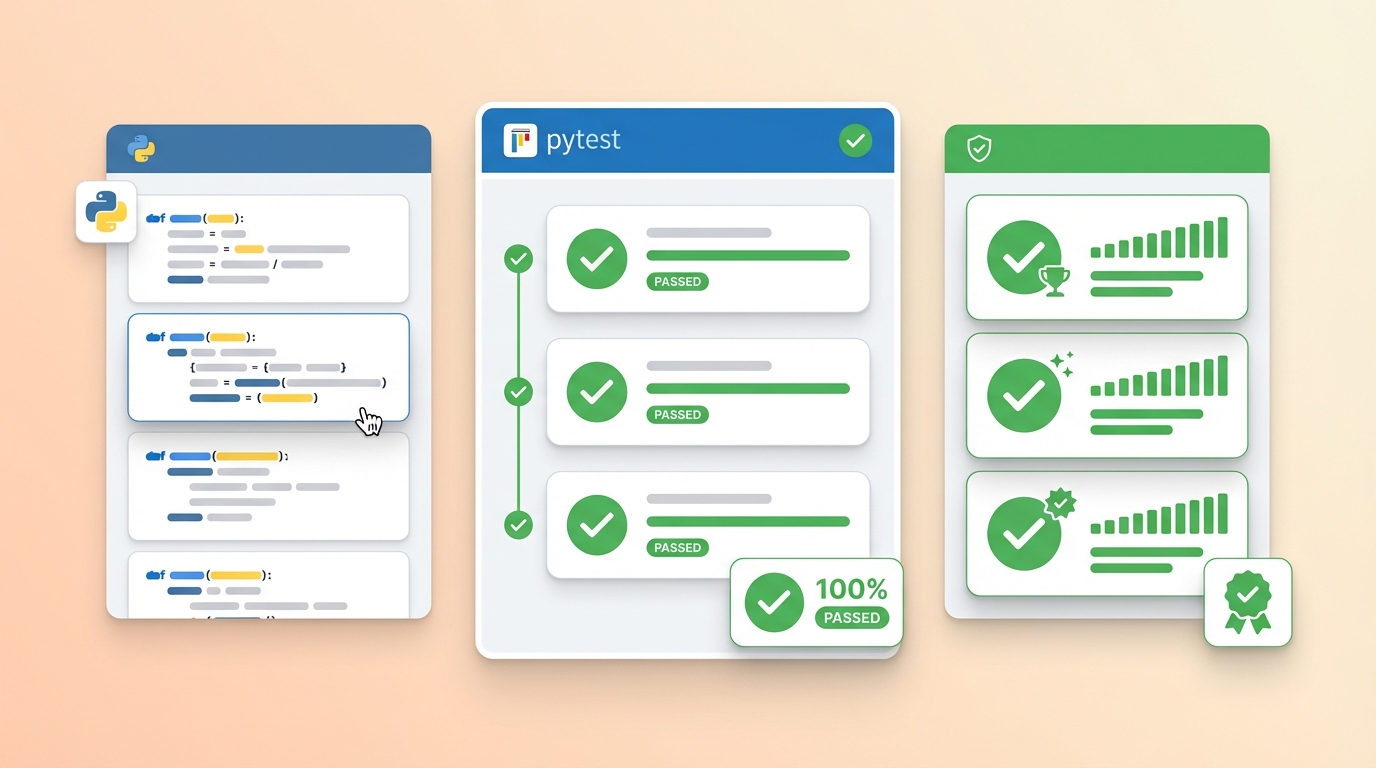
pytest is Python's most popular testing framework. Install it with pip:
pip install pytest
Here's a simple example. Given this function:
def add(x, y):
    return x + y
You can test it like this:
def test_add():
    assert add(1, 2) == 3
    assert add(-1, 1) == 0
    assert add(-1, -1) == -2
The assert statement checks if the condition is true. If false, the test fails. pytest finds and runs any function starting with test_.
Running Tests
Run pytest in your terminal and it will discover all test files (named test_*.py or *_test.py) and execute all functions starting with test_:
pytest
pytest shows you which tests passed and which failed, with details about failures to help you debug.
Testing Methodology
Good testing involves:
- Identify testable components - Functions with clear inputs and outputs are easiest to test
- Consider edge cases - Test normal inputs, boundary values, and invalid inputs
- Keep tests focused - Each test should verify one specific behavior
- Run tests often - Run your tests after every change to catch regressions early
Writing testable code means organizing your program into focused functions that do one thing well.
Project: Testing Shape Drawing
Let's test a shape-drawing function. First, create main.py:
# main.py
import turtle

def draw_shape(sides):
    angle = 360 / sides
    for _ in range(sides):
        turtle.forward(100)
        turtle.left(angle)
    return angle

def main():
    sides = int(input("Enter number of sides (3+): "))
    if sides < 3:
        print("Need at least 3 sides")
        return
    turtle.speed(1)
    draw_shape(sides)
    turtle.done()

if __name__ == "__main__":
    main()
Now create test_shapes.py to test the draw_shape function:
# test_shapes.py
from main import draw_shape
import turtle

def test_triangle():
    turtle.reset()
    angle = draw_shape(3)
    assert angle == 120
    assert turtle.heading() == 0

def test_square():
    turtle.reset()
    angle = draw_shape(4)
    assert angle == 90
    assert turtle.heading() == 0

def test_pentagon():
    turtle.reset()
    angle = draw_shape(5)
    assert angle == 72
    assert turtle.heading() == 0
Each test resets the turtle, draws a shape, and verifies two things: the calculated angle is correct, and the turtle returns to its starting heading (meaning the shape is closed).
Run pytest to execute all tests. If they pass, you know your drawing logic works correctly for triangles, squares, and pentagons.
Testing graphical code can be tricky, but you can still test the underlying logic. The angle calculation and turtle movement are verifiable even if the visual output isn't.
In the next unit, we'll learn to track code changes using Git.